
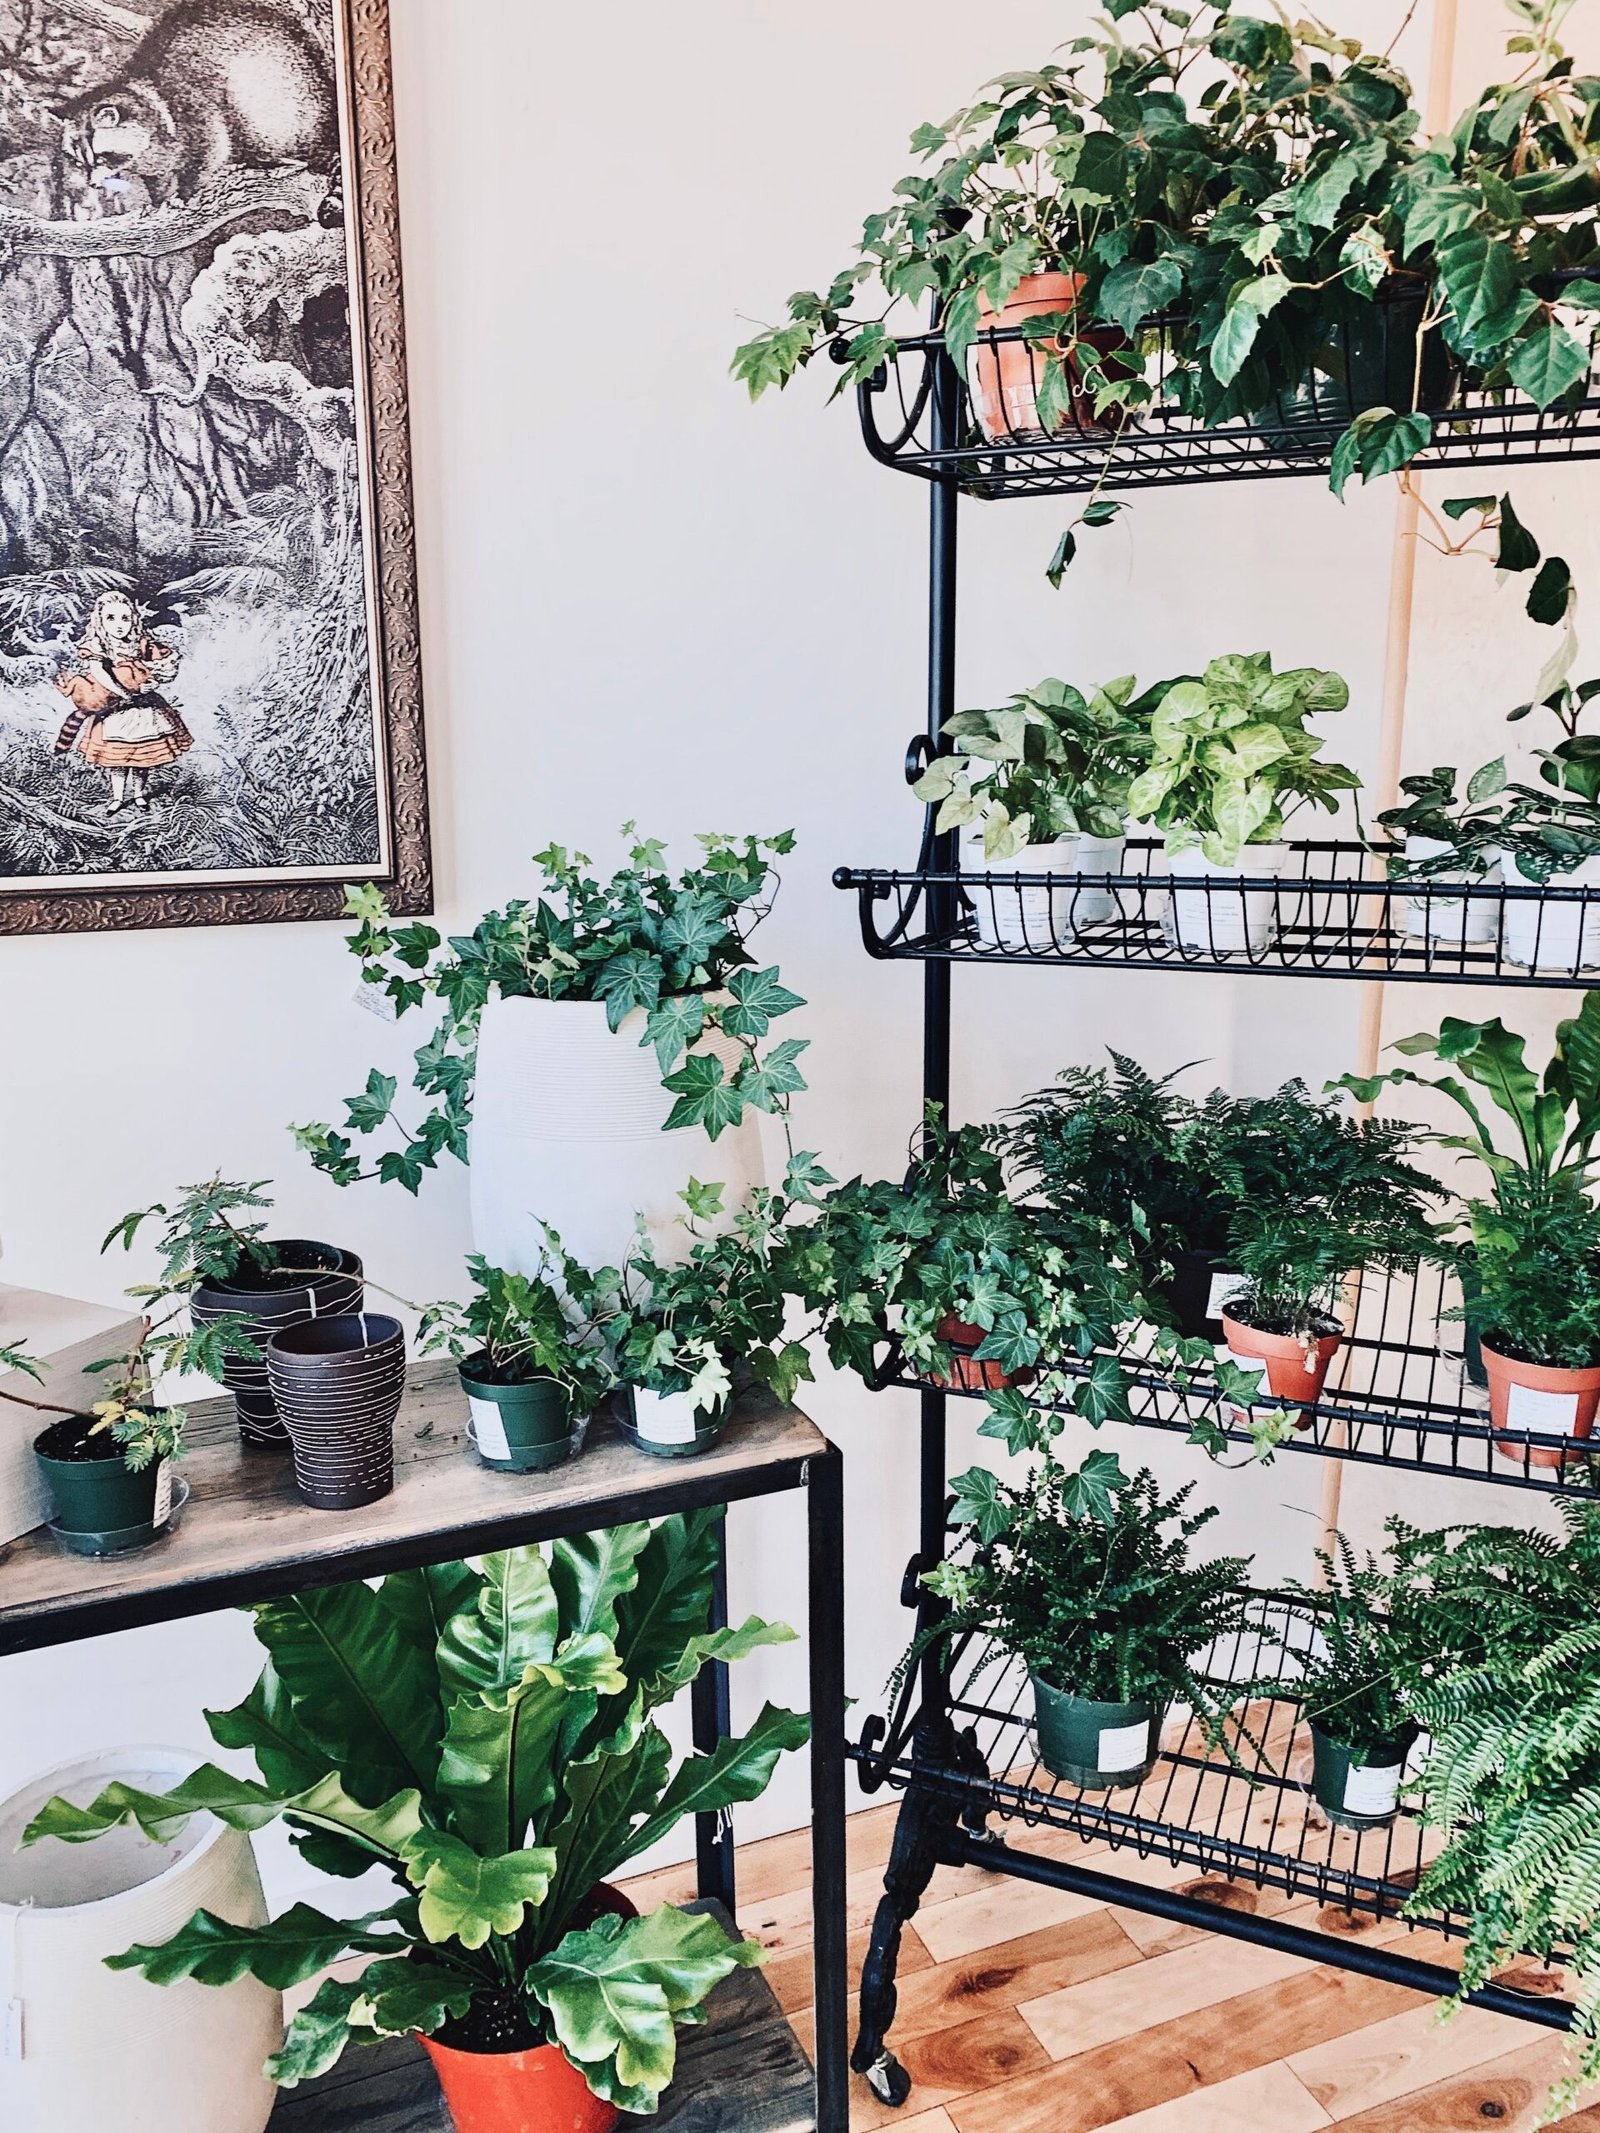
Setting up an indoor herb garden wire rack is the most space-efficient and cost-effective method to grow fresh basil, cilantro, mint, and microgreens year-round. While small countertop smart planters restrict root volume and limit your harvest, a modular wire shelving system paired with full-spectrum lighting provides commercial-grade yields in a compact residential footprint.
In this practical setup guide, you will learn how to design, light, and automate a high-yield indoor herb garden wire rack inside your home.
1. Why a Wire Shelving Rack Is Ideal for Indoor Gardening
Commercial chrome wire shelving (such as standard NSF-rated metro racks) is the gold standard for indoor horticulture for several reasons:
| Feature | Solid Wood / Melamine Shelves | Industrial Chrome Wire Shelving |
|---|---|---|
| Air Circulation | Restricts vertical airflow (promotes mold) | 360-degree open grid for passive ventilation |
| Light Mounting | Requires drilling brackets | Zip-ties or S-hooks attach in seconds |
| Moisture / Water Resistance | Warps, swells, and rots from runoff | Corrosion-resistant chrome or epoxy finish |
| Height Adjustability | Fixed shelf heights | 1-inch increment adjustments per tier |
| Weight Capacity | 30 – 50 lbs per shelf | 300 – 600 lbs per shelf (Holds heavy soil trays) |
Pairing vertical indoor gardening with a dedicated DIY DWC hydroponics setup or soil-filled planter boxes allows you to maximize fresh produce production in any garage or utility room.
2. Recommended Shelving Dimensions and Materials
For optimal light distribution and tray fitment, select standard commercial dimensions:
- Rack Dimensions: 48 inches wide by 18 inches deep by 72 inches high (4ft x 1.5ft x 6ft). This standard footprint perfectly fits four 1020 seedling trays per shelf.
- Tier Configuration: A 4-tier or 5-tier rack gives you 3 to 4 active growing levels with roughly 14 to 18 inches of vertical clearance between shelves.
- Shelf Liners: Install clear polypropylene shelf liners or silicone boot trays on each tier to catch irrigation overflow and protect LED drivers below.
3. Selecting the Best LED Grow Lights for Herbs
Herbs require high light intensity without excess heat buildup. Avoid weak purple “blurple” diodes and choose high-efficiency white LEDs.
- Spectrum: Full spectrum white light with a 3000K–4000K warm white base + 5000K daylight + 660nm deep red wavelength blend to support vigorous vegetative growth.
- Light Output: Aim for a Photosynthetic Photon Flux Density (PPFD) between 250 and 400 µmol/m²/s at the canopy level for herbs like Genovese basil and rosemary.
- Fixture Style: T5 or T8 LED integrated light bars (4-foot length, 40W to 50W per fixture). Mount two light bars per shelf tier spaced 8 inches apart for edge-to-edge coverage.
For detailed light metrics and bulb comparisons, review our comprehensive best LED grow lights guide.
4. Ventilation, Airflow, and Automation
An indoor herb garden wire rack concentrates high plant density in a small area, making environmental control crucial to prevent damp-off and fungal gnats.
Air Movement
Clip a 6-inch or 8-inch oscillating fan to the vertical poles of the rack on each tier. Continuous gentle airflow strengthens herb stems and prevents stagnant humidity pockets beneath leaves.
Smart Automation Schedule
Herbs require a consistent photoperiod to prevent early flowering (bolting):
- Photoperiod: Set a digital or Wi-Fi timer for 14 to 16 hours of daily light, followed by 8 hours of total darkness.
- Distance to Canopy: Maintain light bars 4 to 6 inches above seedling leaves, raising the lights or lowering the shelves as plants mature.
For safe power distribution and breaker loading rules, follow guidelines from the National Electrical Safety Foundation.
5. Step-by-Step Assembly Workflow
- Assemble the Rack Base: Lock the bottom shelf into the lowest collar groove on your vertical poles. Install leveling feet (or locking caster wheels).
- Set Tier Spacing: Space middle tiers 16 to 18 inches apart to accommodate plant containers and suspended light fixtures.
- Hang LED Light Bars: Fasten two LED light bars underneath each wire tier using heavy-duty nylon cable ties.
- Daisy-Chain Power Cords: Connect light bars across tiers using manufacturer linking cables, consolidating cords down the rear pole into a heavy-duty surge protector.
- Position Trays and Plant: Place seeded 1020 trays or individual 6-inch fabric pots with a well-draining potting mix (60% peat/coco, 30% perlite, 10% worm castings).