
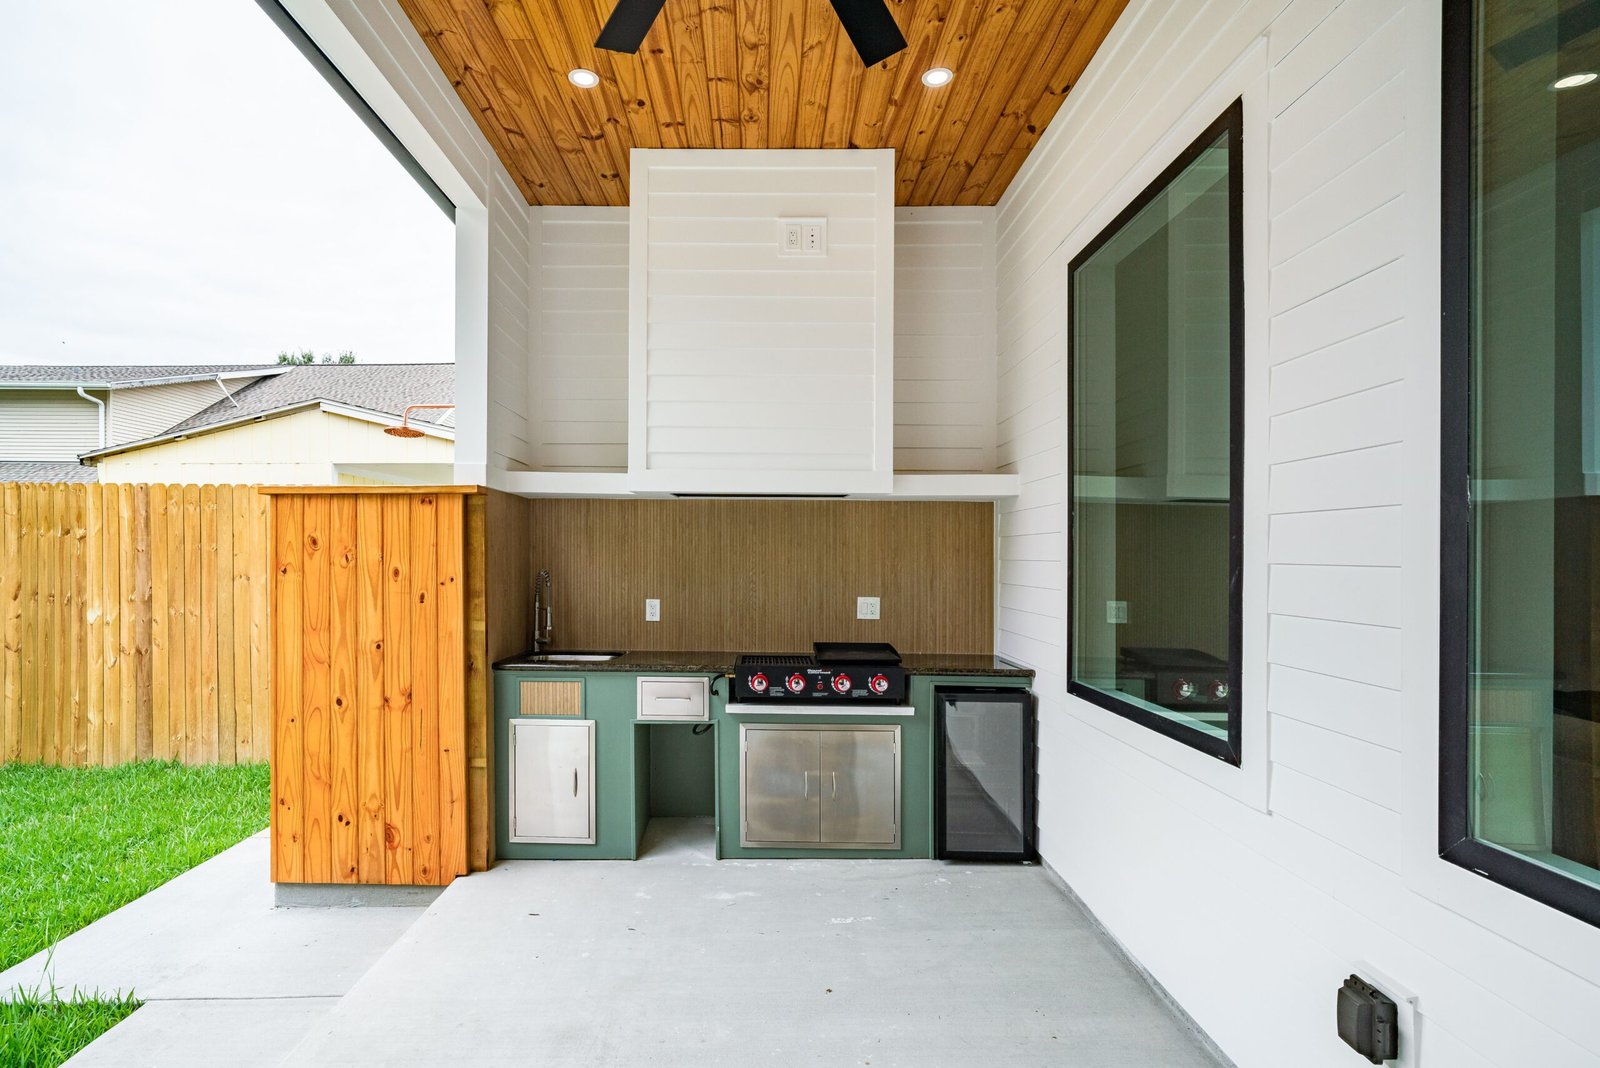
Learning how to build an outdoor grill island transforms an ordinary backyard patio into a functional, high-performance cooking space. Whether you are installing a drop-in natural gas grill, a charcoal smoker, or built-in storage drawers, constructing a durable island requires careful planning around structural framing, thermal clearances, weatherproofing, and non-combustible substrates.
In this step-by-step engineering guide, you will learn how to build an outdoor grill island from foundation to final finish while adhering to North American outdoor building standards.
1. Choosing Framing Materials: Steel Studs vs. Wood
When deciding how to build an outdoor grill island that withstands extreme weather and high cooking temperatures, material selection is paramount.
| Feature | 20-Gauge Galvanized Steel Studs | Pressure-Treated 2×4 Lumber |
|---|---|---|
| Fire Resistance | 100% Non-Combustible (Class A) | Combustible (High fire risk) |
| Moisture / Rot Durability | Impervious to rot and termites | Susceptible to warping and rot |
| Weight | Lightweight and rigid | Heavy structure |
| Fastener Type | #8 Self-drilling framing screws | Exterior structural coated screws |
| Recommendation | Best Choice for Built-In Grills | Requires Insulated Heat Jacket |
Safety Warning: If you build your frame using lumber, local fire codes require installing a manufacturer-approved stainless steel insulated jacket around any drop-in grill.
2. Essential Ventilation and Thermal Clearances
A critical step in how to build an outdoor grill island safely is providing adequate ventilation. Gas leaks create dangerous pockets of fuel: propane settles near the ground because it is heavier than air, while natural gas rises.
- Vent Placement: Install at least two 4″x10″ corrosion-resistant exterior vent panels on opposite sides of the island.
- Rear Clearance: Ensure a minimum clearance of 10 to 12 inches between the rear hood of the grill and any exterior wall or combustible structure.
- Cutout Tolerances: Add a 1/8-inch thermal expansion buffer around the perimeter cutout dimensions specified in your grill manual.
3. Substrate Installation and Waterproofing
Never mount tile or stone veneer directly to wood or drywall. Exterior backer boards create the structural base for all finishes.
- Board Material: Install 1/2-inch exterior cement backer board (such as Durock or HardieBacker).
- Fasteners: Fasten panels with 1-1/4″ exterior-grade cement board screws every 8 inches.
- Seam Taping: Cover all joints with alkali-resistant mesh tape and embed with modified thin-set mortar.
- Waterproofing: Apply a liquid waterproof membrane (like RedGard) across all seams to prevent water penetration during freeze-thaw cycles.
For related concrete preparation tips, check out our guide on diamond grinding garage concrete floors.
4. Countertop and Cladding Selection
Selecting weather-resistant surfaces ensures your kitchen looks great year-round:
- Poured Concrete: Highly customizable and modern. For lasting results, verify surface prep similar to our epoxy vs polyaspartic floor guide.
- Granite Slabs: Choose a honed or leathered finish to prevent blinding sun reflection and surface scratching.
- Cladding: Modern porcelain tile, stacked stone veneer, or smooth cementitious skim coats provide a clean exterior finish.
For official appliance installation codes, refer to the National Fire Protection Association (NFPA) Outdoor Cooking Safety Standards.
5. Step-by-Step Construction Workflow
- Level the Foundation: Ensure your concrete patio pad has a minimum 4-inch thickness and is level.
- Anchor Tracks: Fasten bottom galvanized runners into concrete using 1/4″ masonry Tapcon anchors.
- Assemble Vertical Studs: Place studs at 12″ or 16″ on-center spacing, adding double studs around cutout boxes.
- Run Utilities: Have a certified technician rough-in gas piping (CSST or rigid pipe) and GFCI-protected electrical outlets.
- Hang Cement Boards: Hang boards with a 1/4″ gap above the patio floor to eliminate moisture wicking.
- Apply Finish & Drop In Appliances: Complete all tile or veneer work before dropping in the grill head and connecting gas lines.