
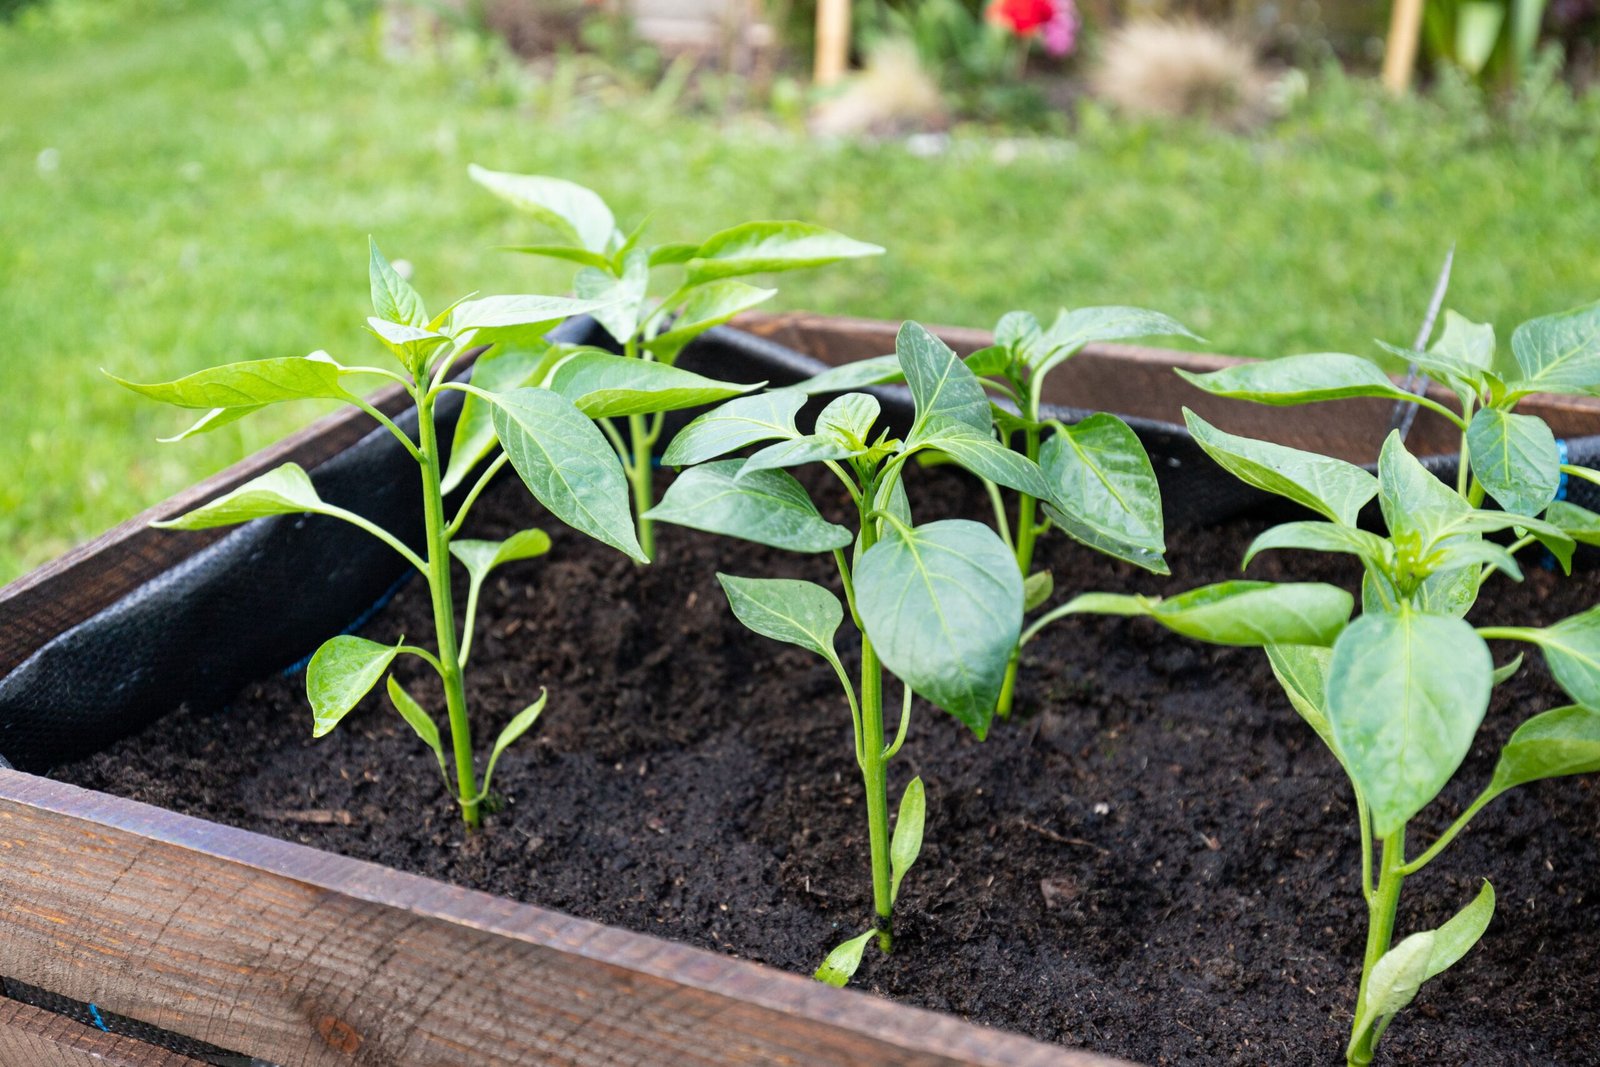
Building a custom DIY raised garden bed is one of the most rewarding backyard improvements for home gardeners. Elevating your growing area provides total control over soil composition, prevents soil compaction from foot traffic, warms root systems earlier in the spring, and dramatically reduces weeding chores.
However, choosing the wrong lumber or improper corner fastening leads to bowing sideboards and rotted frames within just a couple of seasons. Below is the structural guide to building a durable DIY raised garden bed that lasts for years.
Lumber Comparison for Raised Beds
| Lumber Type | Rot & Insect Resistance | Chemical Safety for Food | Expected Lifespan | Cost Level |
|---|---|---|---|---|
| Western Red Cedar | Naturally High (Natural thujaplicin oils) | 100% Food Safe (Untreated) | 10 to 15+ years | High |
| Redwood | Naturally High (Tannin rich) | 100% Food Safe (Untreated) | 10 to 15+ years | High |
| Modern Pressure-Treated (MCA) | High (Copper azole treated) | Safe (Non-arsenic formula) | 10 to 12 years | Moderate |
| Untreated SPF Pine / Fir | Low (Vulnerable to ground fungi) | 100% Food Safe | 2 to 4 years | Low |
1. Selecting Safe and Durable Lumber
When selecting timber for an edible DIY raised garden bed:
- Cedar and Redwood: The premier choices for vegetable gardening. Their natural resins naturally repel termites, carpenter ants, and wood-decay fungi without needing chemical treatment.
- Modern Pressure-Treated Wood: Modern lumber uses Micronized Copper Azole (MCA) rather than outdated CCA (Chromated Copper Arsenate). University agricultural studies confirm that copper leaching into edible crops is negligible, making modern treated wood a viable budget option.
- Board Thickness: Always choose 2-inch nominal lumber (such as 2×8, 2×10, or 2×12 boards) instead of thin 1-inch planks to prevent the weight of wet soil from bowing the sidewalls outward.
2. Ideal Dimensions and Layout Planning
Ergonomics and root zone depth dictate bed sizing:
- Width (The 4-Foot Rule): Keep raised beds to a maximum width of 4 feet (1.2 meters) if accessible from both sides, or 3 feet if built against a wall. This allows you to reach the center of the bed effortlessly without stepping on and compacting the soil.
- Optimal Depth: A depth of 10 to 12 inches accommodates the root systems of 90% of garden vegetables, including tomatoes, peppers, and carrots.
- Pathway Clearance: Maintain at least 3 feet of pathway clearance between parallel beds to navigate wheelbarrows and lawnmowers easily.
3. Step-by-Step DIY Raised Garden Bed Construction
- Corner Post Framing: Cut four 4×4 cedar posts to the interior height of your bed. Screw the 2×10 sideboards directly into the 4×4 corner posts using 3-inch exterior structural screws with corrosion-resistant ceramic coatings.
- Bottom Hardware Cloth (Pest Shield): Before placing the bed, staple 1/2-inch galvanized steel hardware cloth across the entire bottom frame. This wire barrier blocks subterranean burrowing pests like gophers, moles, and voles while allowing earthworms and moisture to move freely.
- Cardboard Weed Barrier: Lay two overlapping layers of non-printed corrugated cardboard over the grass or native soil inside the frame to smother existing weeds and decompose into organic matter.
4. The Ultimate Soil Mix (Mel’s Mix Formula)
Never fill a new bed with dense native backyard dirt, which compacts into hard clay inside closed frames:
- 1/3 Coarse Horticultural Vermiculite or Perlite: Retains moisture and keeps the soil structure light and airy.
- 1/3 Sphagnum Peat Moss or Coconut Coir: Provides water retention capacity and organic fiber structure.
- 1/3 Blended Organic Compost: Mix at least 2 to 3 different compost sources (aged manure, mushroom compost, plant compost) to supply balanced plant nutrition without chemical fertilizers.
Final Construction Takeaway
A well-constructed DIY raised garden bed assembled with 2-inch thick rot-resistant lumber, reinforced corner posts, and an airy compost mix provides a high-yield growing foundation for years of productive gardening.