
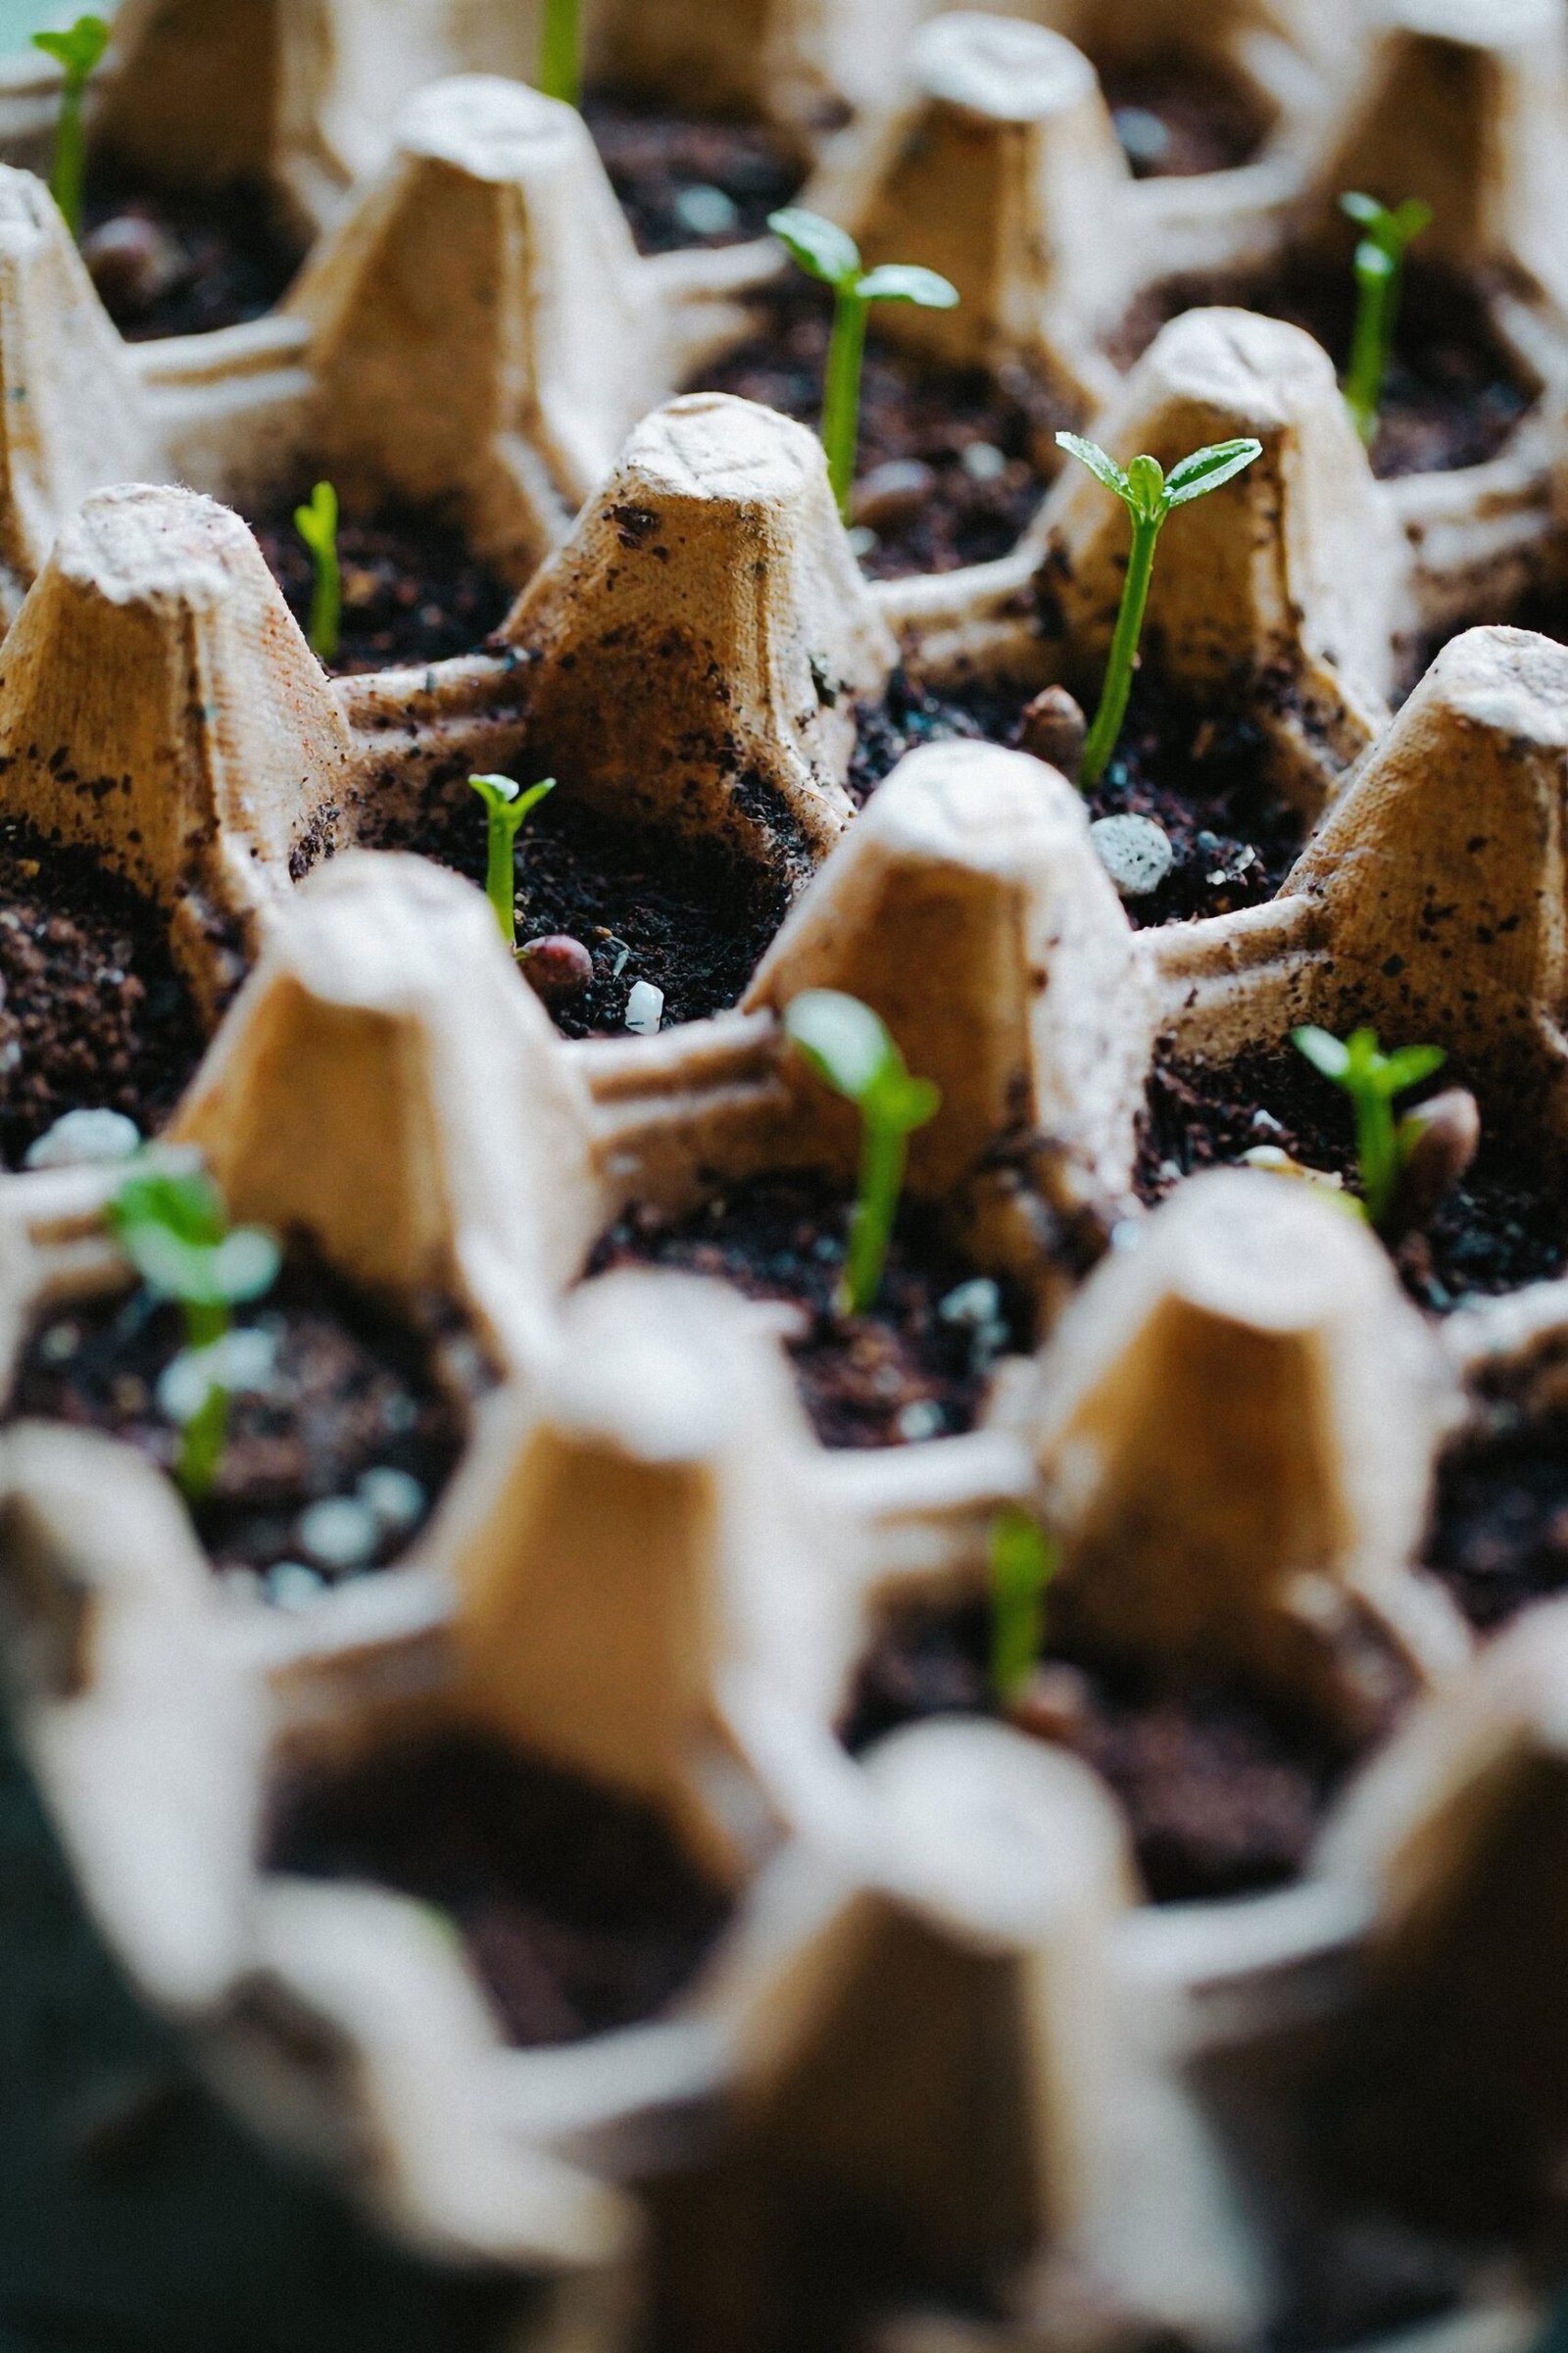
Starting your garden from seed gives you access to hundreds of unique heirloom vegetable varieties and robust culinary herbs that local garden centers simply do not stock. However, successful seed starting indoors requires strict control over three primary environmental variables: consistent root-zone temperature, adequate light intensity, and managed soil moisture.
Using a dedicated seedling heat mat paired with a digital thermostat is the most reliable way to speed up germination times and prevent cold-soil seed rot. Below is the step-by-step technical guide for reliable seed starting indoors.
Seed Germination Temperature Benchmarks
| Plant Type | Ideal Soil Germination Temp | Average Days to Sprout | Heat Mat Requirement |
|---|---|---|---|
| Tomatoes & Peppers | 75°F – 85°F (24°C – 29°C) | 5 to 8 days | Highly Recommended |
| Basil & Culinary Herbs | 70°F – 80°F (21°C – 27°C) | 4 to 7 days | Recommended |
| Brassicas (Kale, Cabbage) | 65°F – 75°F (18°C – 24°C) | 3 to 5 days | Optional / Ambient room temp |
| Lettuce & Leafy Greens | 60°F – 70°F (15°C – 21°C) | 2 to 4 days | Avoid (Heat inhibits germination) |
1. Why Seedling Heat Mats Are Essential
Seeds rely on soil temperature—not room air temperature—as the biological trigger to break dormancy.
- The Problem: Indoor ambient room temperatures (around 68°F / 20°C) often result in wet, chilly soil mixes hovering near 62°F (16°C). In cold potting mix, warm-season crops like peppers and eggplants can take 2 to 3 weeks to emerge, increasing the risk of seed decay.
- The Solution: A waterproof seedling heat mat raises root-zone temperatures by 10°F to 20°F (5°C to 11°C) above ambient air.
- Thermostat Control: Always insert the thermostat’s metal temperature probe directly into a center soil cell to maintain a constant 78°F to 82°F (25°C to 28°C) without overheating delicate root tips.
2. Choosing Soil Medium and Cell Trays for Seed Starting Indoors
A sterile, lightweight germination medium prevents pathogens while providing unhindered root expansion:
- Soilless Seed Starting Mix: Use a peat moss or coconut coir blend amended with fine vermiculite and perlite. Avoid heavy garden topsoil or enriched potting soils with slow-release synthetic fertilizers, which can burn tender seedling roots.
- Pre-Moistening: Moisten the starting mix in a clean bucket with warm water before filling the cell trays. The consistency should resemble a wrung-out sponge (moist, but not dripping wet when squeezed).
- Tray Sizing: 72-cell or 128-cell plug trays are ideal for early sprouts. Ensure all bottom trays have drainage channels to avoid standing water pockets.
3. Humidity Domes and Preventing Damping-Off
- Covering with Domes: Place a clear plastic humidity dome over the tray immediately after planting to lock in 90%+ relative humidity until sprouts emerge.
- Remove the Dome Promptly: The moment 50% of the seeds emerge, remove the humidity dome immediately. Trapping warm, stagnant moisture over emerging foliage is the primary cause of damping-off (a fungal pathogen that rots seedling stems at soil level).
- Air Movement: Turn on a small oscillating fan on low speed once seedlings have sprouted to improve air circulation, prevent surface mold, and build sturdy, thick stems.
4. Transition from Heat Mat to Grow Lights
- Turn Off Heat Mats: Once seeds have fully germinated, remove the trays from the heat mat or lower the setpoint to 65°F–70°F (18°C–21°C). Excessive bottom heat after germination produces weak, elongated stems.
- Position Grow Lights: Lower full-spectrum LED grow fixtures to within 3 to 4 inches above the tops of the seedlings, running the lights on a digital timer for 14 to 16 hours daily.
Final Startup Checklist
Mastering seed starting indoors comes down to warm soil during germination, followed immediately by strong LED lighting and active airflow once green sprouts appear.